Introduction
Have a go at drawing a monster inspired by artworks on Art UK and Surrealism.
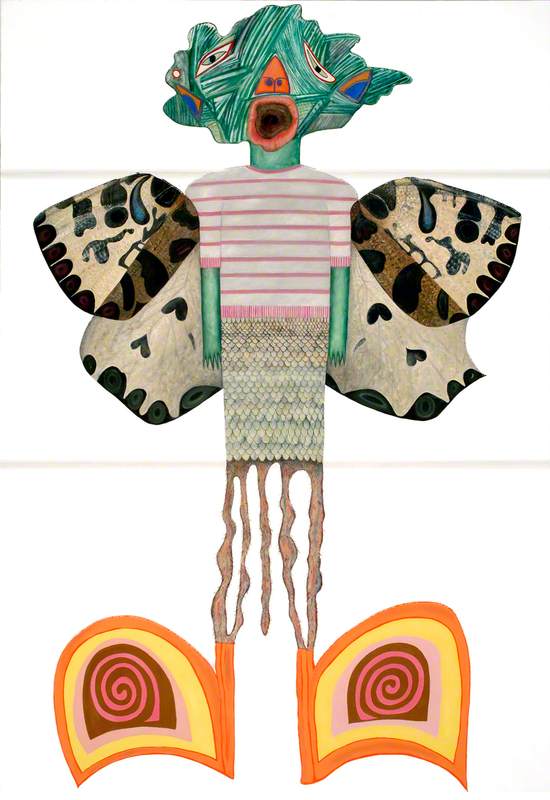
These monsters were created by Orkney-based artists Matilda Tumim and Christopher Prendergast using drawings made by students at Papdale Primary School. If you look closely you will notice that there are lines on the paper, this provides us with a clue about how these fabulous-looking monsters were made.
Consequence: Mr Scar and Mr Malink
2007
Matilda Tumim (b.1963) and Christopher Prendergast (b.1962)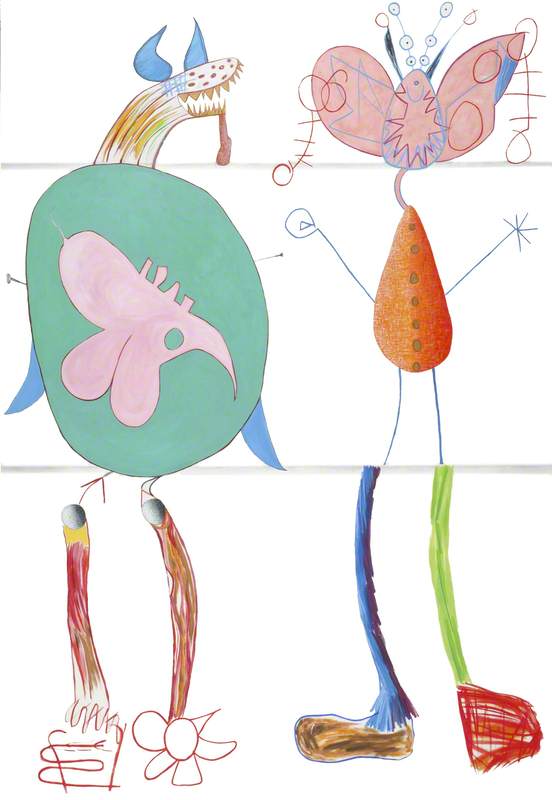
The artists and students created the monsters using a game called Consequences, which was invented by Surrealist artists in the 1930s. Surrealist artists often used techniques and approaches that encouraged accidents or the unexpected in making their artworks. Consequences was a technique that they invented to create unexpected drawings and texts.
To make a drawing using the consequences technique, two or more people collaboratively add to an artwork without seeing what the other people have drawn – so it's a surprise when the finished artwork is revealed!
Consequence: Circle Monster
2007
Matilda Tumim (b.1963) and Christopher Prendergast (b.1962)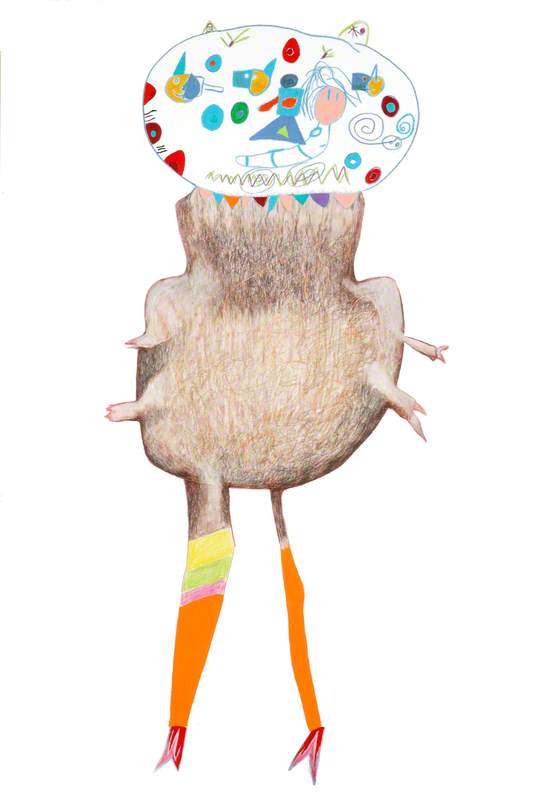
This is a fun and simple way of creating a drawing that can be used in the classroom or at home.
Top tip! If you are drawing monsters in a group, you could have several drawings on the go at once. Each start with a piece of paper and follow the instructions as outlined below, with everyone in the group starting a drawing and passing their folded paper onto the next person.
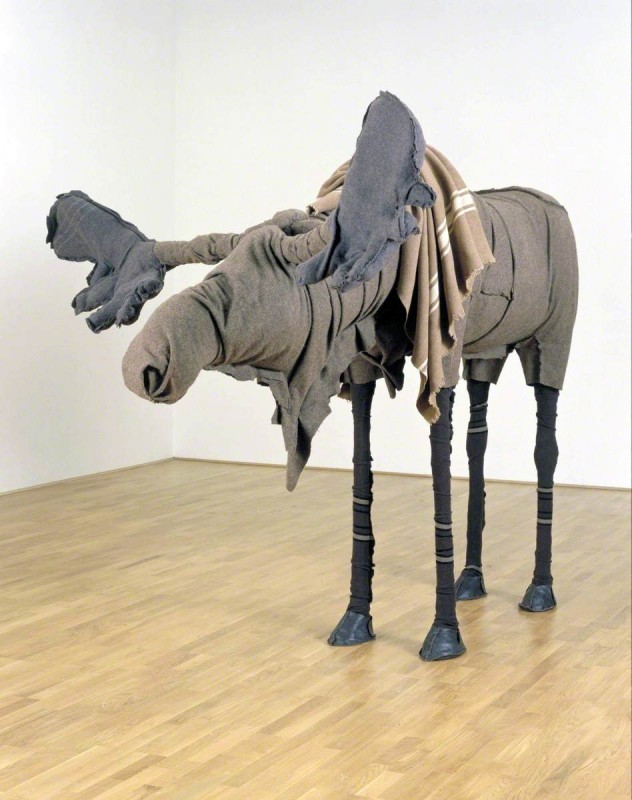
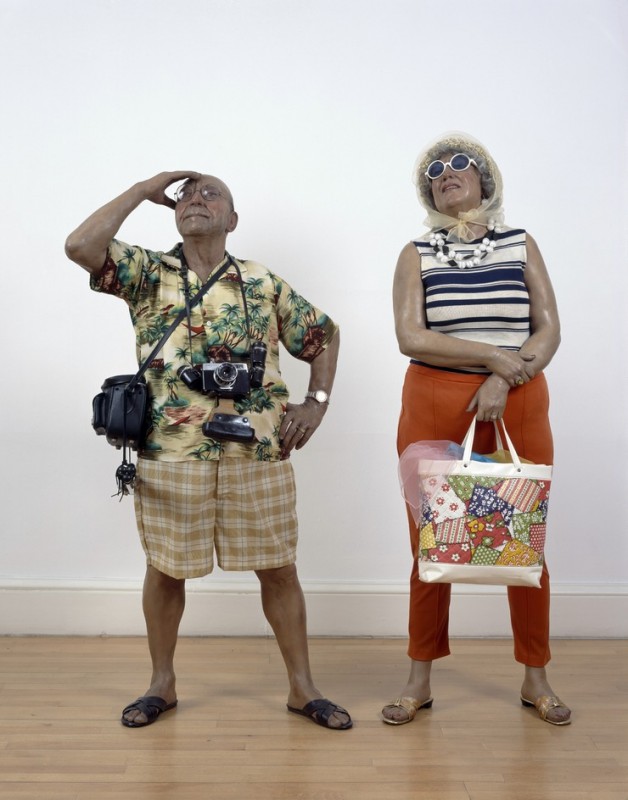
Before you begin, it might be helpful to find some monster inspiration.
- Search Art UK for 'monster', 'beast', 'troll' (and any other monster-y words you can think of!). You could also search for monsters from ancient myths and legends.
- Or check out our Take five: monsters in art Curation.
Activity instructions
You will need:
To make a surprise monster you will need two or more people. You will also need:
- paper
- coloured pencils, pens or crayons
Method
Step 1. Make your template
Fold the paper into four even sections and then open it up so the creases show. (Or you could divide your paper into four sections using a ruler to measure and draw three lines to create the sections.)
Paper template folded into four equal sections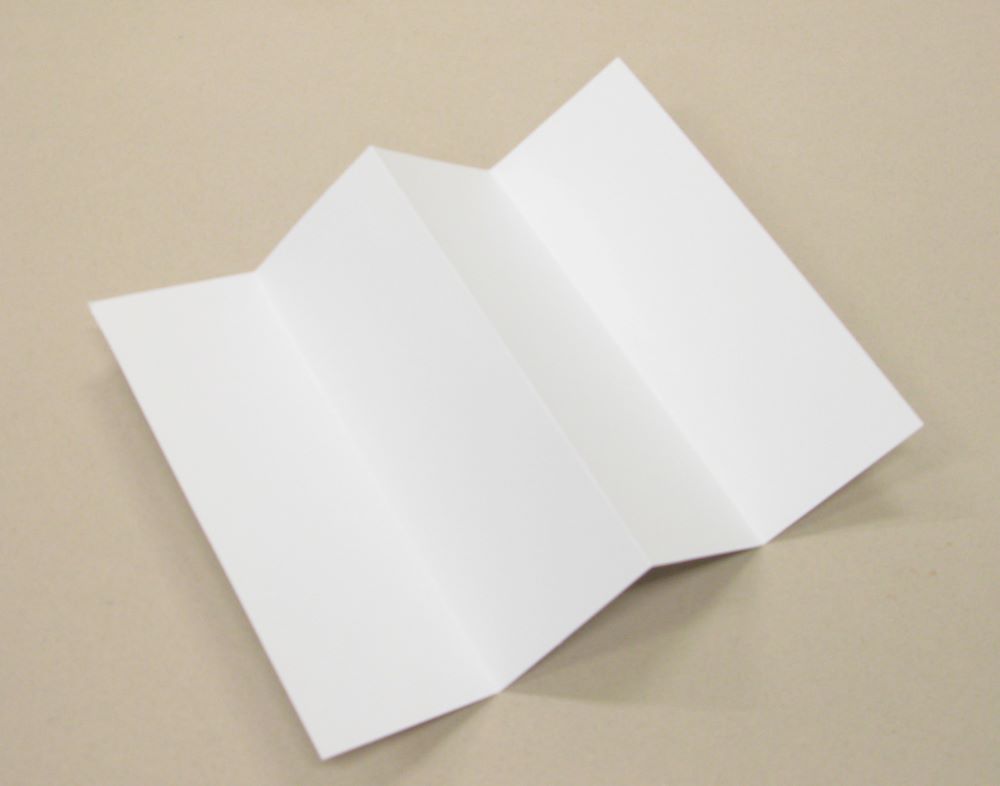
Step 2. Draw a head
The first person in the group (or in the pair) should draw the head of a monster on the top section of the paper without letting anyone else see what they have drawn. (The head could be a funny face or an animal’s head, an unlikely object or just a weird shape with teeth! It could have big ears or no ears or lots of eyes or antennae. What will you draw?)
Draw your monster's head on the first section of the paper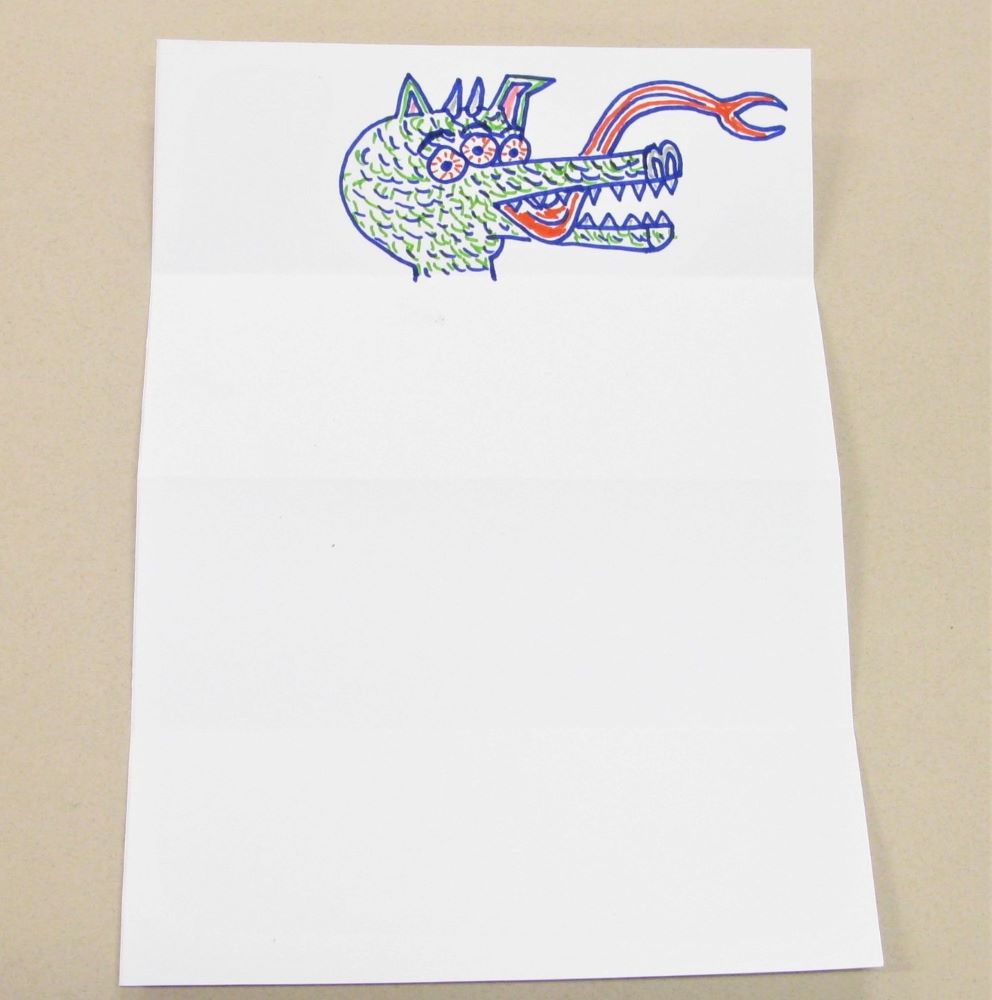
The first person then needs to fold down the top section of the paper so that the head is hidden. They should also add two little marks at the top of the next section of the paper so that the next person will know where to start the monster's body.
Fold the paper to hide your head drawing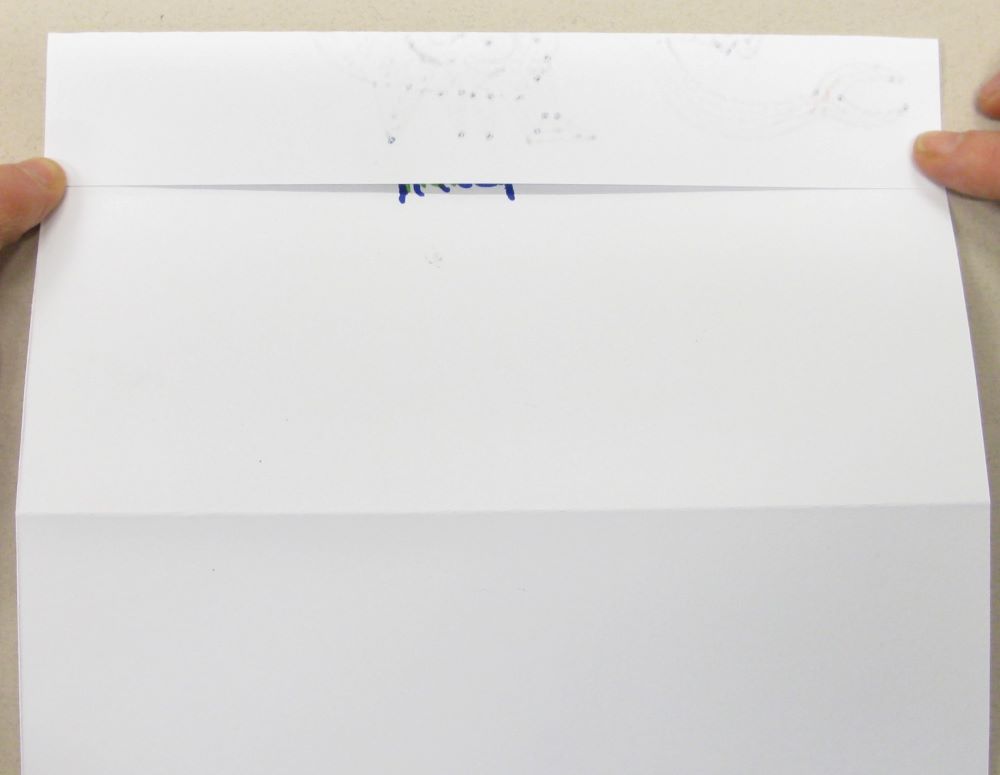
Step 3. Draw a body
The first person then passes the drawing onto the second person who draws the monster's body on the second section of the paper. (This could be any sort of body – fat or thin with lots of arms – or with wings. It could have fur or feathers or spikes or stripes or scales…)
The second person should then fold down the paper to hide what they have drawn, adding two little marks to the third section of the paper to suggest where the body ends (so the next person knows where to add the legs).
Fold the paper to hide your drawing of the body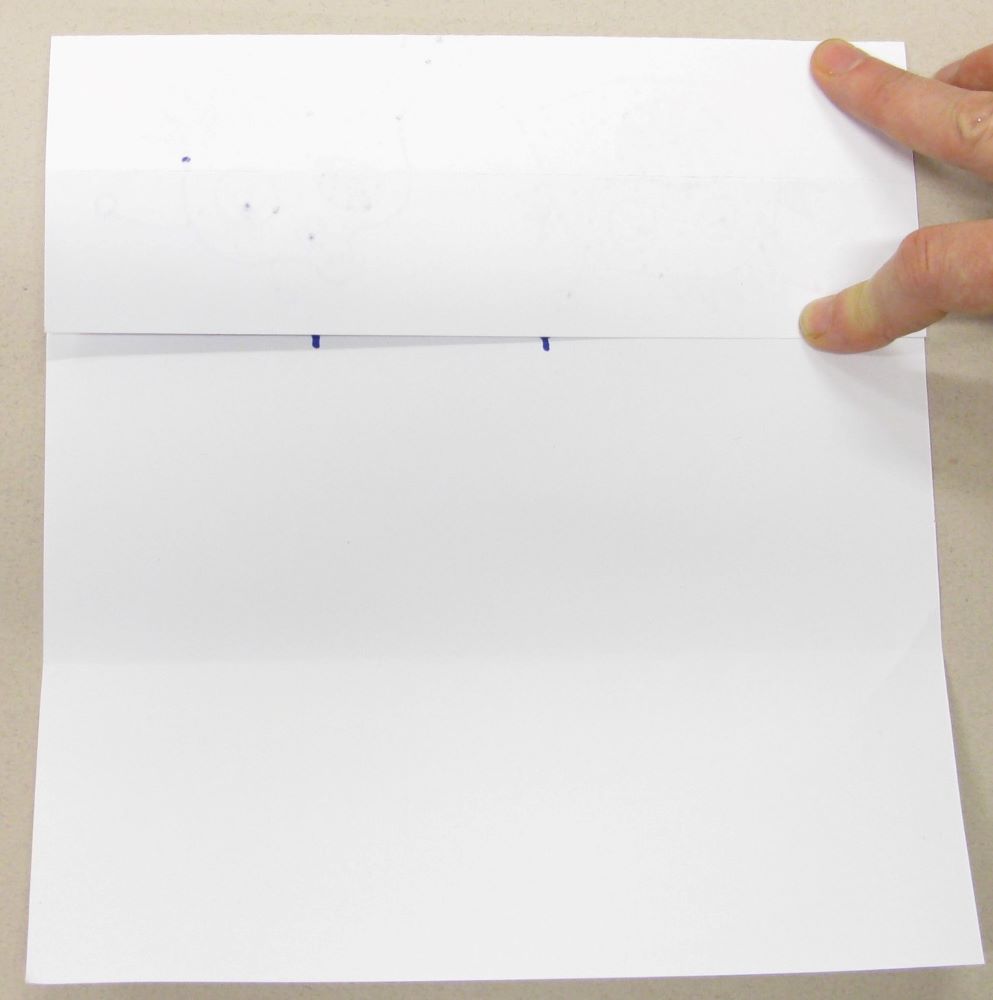
Step 4. Draw some legs
Now pass the drawing on to the next person (or back to the first person if you are working in pairs). Draw the legs on the third section of the paper. (These could be spider legs or elephant legs, hairy legs or wobbly legs, long legs or short legs … or lots and lots of legs!)
Fold the paper down to hide the legs and pass the drawing onto the next person (or back to your partner) to draw the feet. Make sure you add two little marks to suggest where the legs end and the feet need to go.
Step 5. Draw some feet
The last section of the paper is for the feet. What sort of feet will the monster have? They could be spindly feet like birds have, or hairy feet, or feet with lots of toes …. Or the monster could be wearing boots or stylish trainers – eek does that mean it will be able to run really really fast!?)
Draw your monster's feet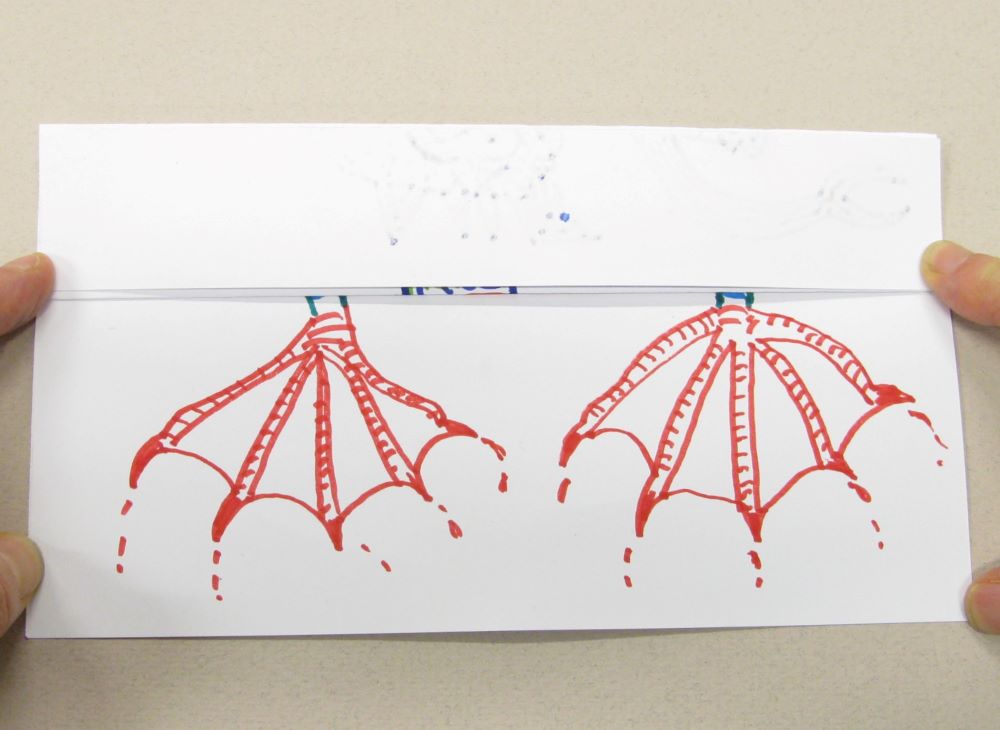
Fold the paper to hide the feet and pass the hidden drawing on to the next person whose job it is to open it up.
The big reveal …
Are you ready for the big reveal? Unfold your paper to reveal your surprise monster. On a scale of 1 to 10, how scary is it?
Unfold the paper to reveal your surprise monster drawing!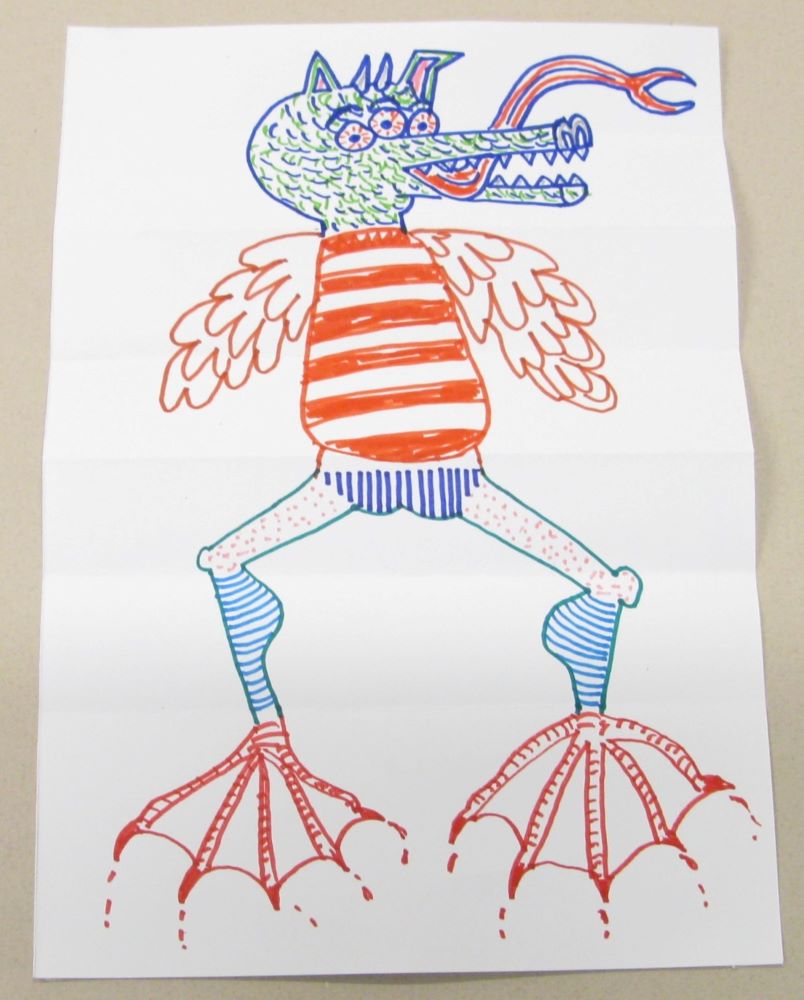
Now have another go at making an even scarier monster!
